

 Live Chat


ADTO News
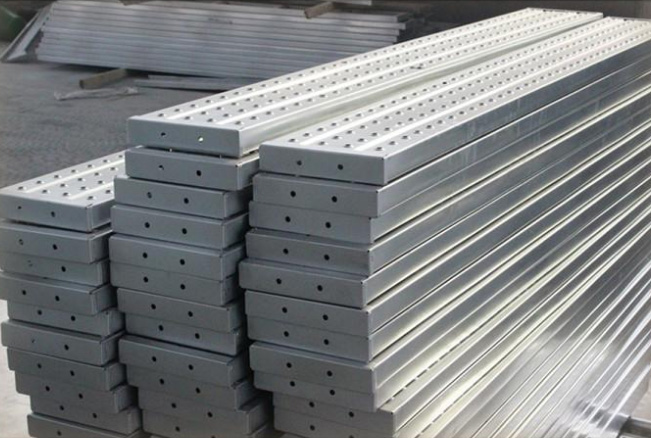
Things Need to Note when Assembling Ringlock Scaffolding Planks
SCAFFOLDING NOTE: Irrespective of whether a platform is required on the lowest Spigot it is recommended that the Scaffolding Planks are installed at this level. This ensures that the Ringlock Scaffolding is square and level prior to erection and it also provides plan stiffness. This is most important, especially when the maximum height of the Ringlock Scaffolding is above eight lifts. The installation of these Scaffolding Planks ensures that the out of alignment eccentricities are kept to a minimum in order for the Ringlock Scaffolding to attain the maximum permissible height for each recommended tie pattern.

1. Connect the Ledgers to the Spigot on the Base Collar. Do not hammer in the wedges at this step.
2. Using a spirit level, adjust the Jacks so that the Ledgers and Transoms are horizontal. Accuracy in leveling at this stage eliminates the need for further leveling and plumbing as the Ringlock Scaffolding is erected.
3. Place Scaffolding Planks of the correct bay length into the end bay to fully deck out the bay. Adjust the position of the Jacks and Base Collar by pushing one Jack sideways either in or out in order that the Scaffolding Planks are parallel with the Ledgers.
4. Only a small amount of movement may be needed to ensure the bay is square enough to lock down the Scaffolding Planks with Deck Locks. Once you are satisfied that the bay is square, fill all other bays with Scaffolding Planks so that a platform is created from which the rest of the Ringlock Scaffolding can be erected.
5. When the Ringlock Scaffolding is fully squared and evened, hammer in the wedges.